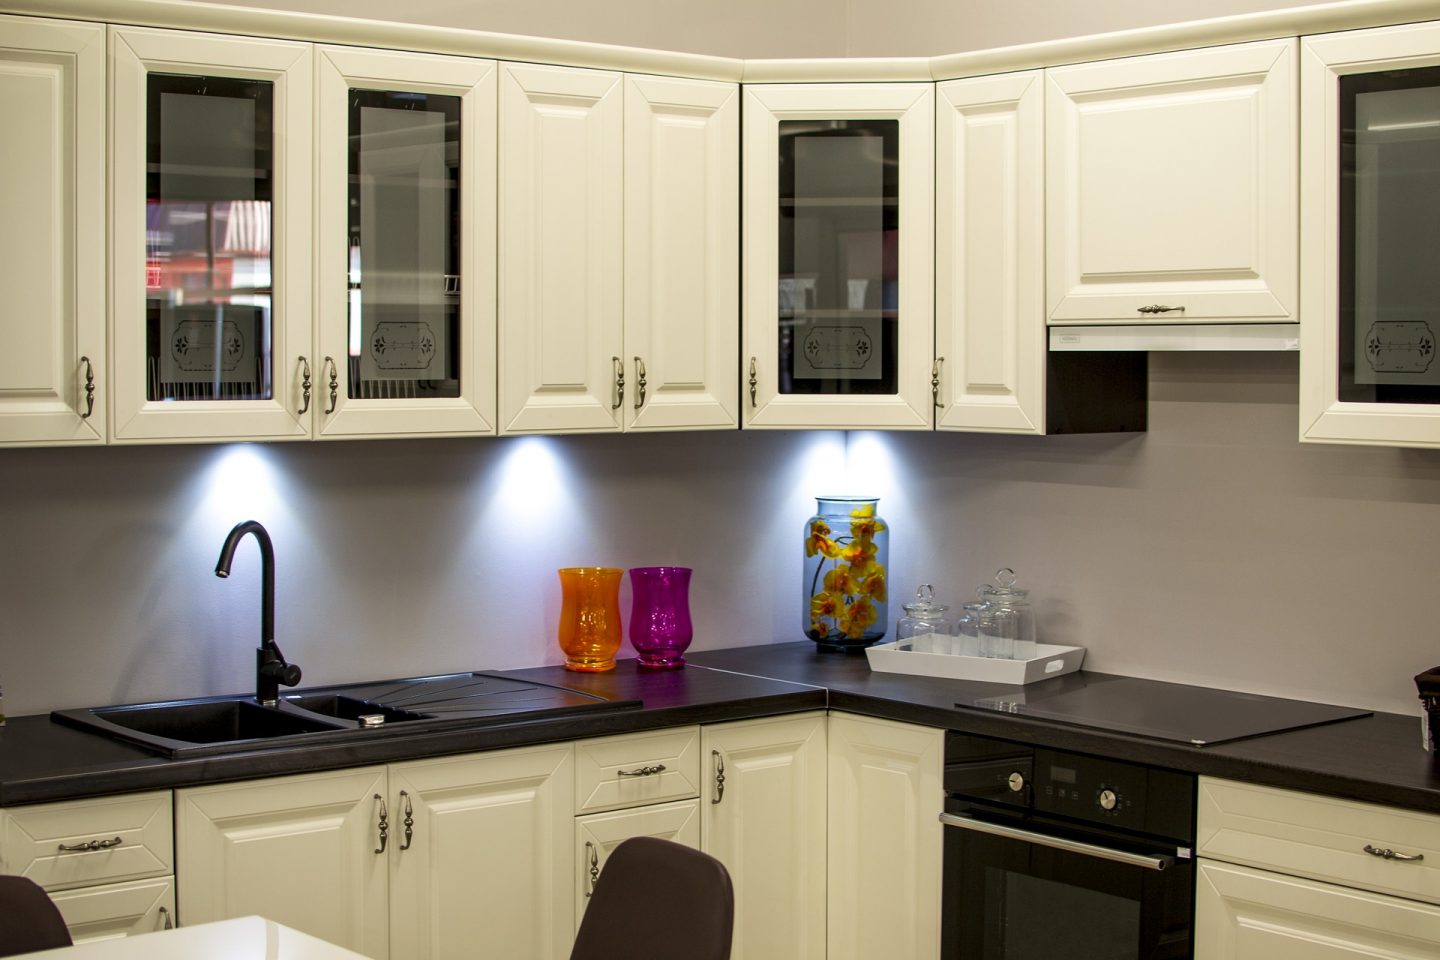
Painted kitchen cabinets may appear to be a simple DIY project on Pinterest – a picture sprucing up your kitchen with only a few coats of a new color in no time! Painting kitchen cabinets is a process with several possible “epic fails.” If you’re planning to do any kitchen remodel near Plano this weekend, these tips might give you a boost!
1. Use Rosin Paper to Cover Your Counters
Painting cabinets is a dirty task, and the last thing you want when you learn how to paint kitchen cabinets is to paint all over your counters. Covering your worktops, backsplash, and floor with cheap rosin or brown builder’s paper is a simple method to protect them. The typical roll size is 35 in. broad by 140 ft. long. After you’ve found the finest paint for kitchen cabinets, you’ll have plenty of paper left over for future painting tasks.
2. Using a Paint Primer Is Critical
It may be tempting to skip this process, but consider this: your finished kitchen may seem fantastic, but knots in the wood may begin to bleed through your paint weeks or months later. Isn’t it a horrible thought? Use a stain-blocking primer to avoid unsightly blotches while the paint cures.
3. Take Out the Doors, Drawer Fronts, and Hardware
We’ve all seen painting projects when the hinges and hardware are painted, and paint is slopped over the drawer inside. It may be tempting to leave the doors in place as you begin your kitchen painting endeavor, but removing them, as well as all of the hardware, will result in much neater and more professional-looking work.
Many contemporary cabinets include drawer fronts that can be removed by unscrewing a few screws. If the front of your drawers are built-in, cover the drawer sides and bottom with masking tape if you do not wish to splatter paint on them.
4. Put Label Guides on the Original Placements
Because what was hung up will need to be replaced in the exact location, it’s a good idea to use numbered labels to help you remember where everything goes. A bit of masking tape on the back of each piece will suffice. It would be best to mention its specific placement (for example, “above the sink, left”) so that no one has to guess where it belongs afterward. After that, store screws and hinges in a container for protection.
5. Remove the Grease
Even the finest kitchen cabinet paint will not adhere to oily cabinets. So, the first and most crucial step in preparing how to paint kitchen cabinets is to clean them with a grease-cutting solution. Dishwashing liquid will suffice, but a specialized grease remover, such as TSP replacement, is preferable.
Scrub the cabinets once you’ve mixed the ingredients according to the package directions. Then, using a clean towel, wipe them dry with clear water.
6. Sand the Surface
It doesn’t matter if your cabinets are in mint condition, it’s always better to sand them so the paint clings better. Use sandpaper in the center of the spectrum (150 or 200 grit is fine) and lightly buff all surfaces. The objective here is to alter the surface from shiny to matte rather than to get to the bare wood.
Conclusion
Doing DIY paintwork on your home can be quite a handful, especially when you’re fumbling around for the right equipment. GP homes and repairs, one of the leading Plano home remodeling services providers, can help you achieve a hassle-free remodeling experience.